Getting started
This page takes you from a new account to a connected server with your first module and your team on board. Plan on about an hour, most of it spent installing the mod on your game server.
In the dashboard your community is called a domain. One domain holds all your game servers, players, modules and team members.
1. Sign up
Section titled “1. Sign up”- Go to dashboard.takaro.io.
- Sign up with email, Discord or Steam.
2. Get a community (domain)
Section titled “2. Get a community (domain)”After you sign in, Takaro checks which domains you belong to.
- You belong to one domain: Takaro takes you straight in.
- You belong to several: you see Select a domain. Pick the one you want to manage.
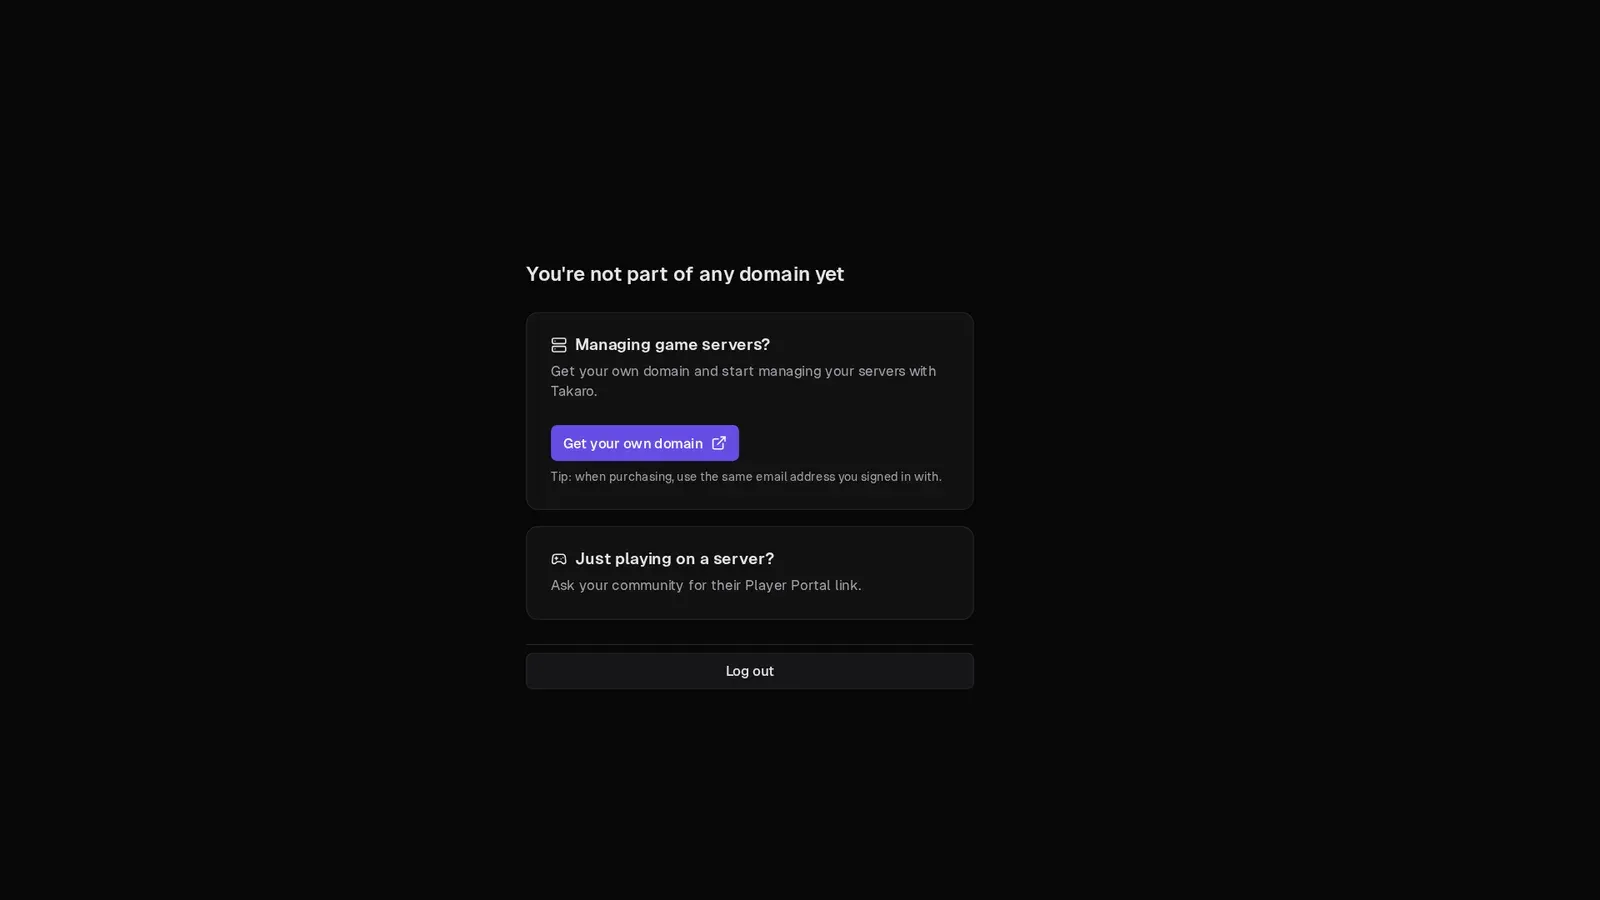
- You don’t have one yet: you see You’re not part of any domain yet. Under Managing game servers?, select Get your own domain. The plans page opens in a new tab, where you pick a plan.
When you buy a plan, use the same email address you signed in with. Keep the first tab open: it keeps checking for your new domain and takes you in once it’s ready.
Belong to more than one domain? To change, open the user menu and pick the domain under Switch domain.
3. Connect your game server
Section titled “3. Connect your game server”Takaro talks to your server through a mod (a small add-on you install on the game server). The mod registers itself with your domain using a registration token.
- In the sidebar, select Servers, then Create Server. The Add a server guide opens.
- Find the mod for your game. Follow the Supported games and their mods link. It takes you to Supported games, which has the install steps for each game.
- Configure the mod. Copy the Registration token from the guide and put it in the mod’s config, as your game’s page describes.
- Start your server. Once it connects, the server shows up in your server list.
A few things to know:
- Every server in your domain uses the same registration token. Keep it secret. If it leaks, use Regenerate token… in the guide, then update the mod config on each server.
- No mod for your game? Rust and 7 Days to Die can also connect the older way, over RCON or the web API. Select No mod available? Connect a Rust or 7 Days to Die server over RCON / web API (legacy) at the bottom of the guide.
4. Install your first module
Section titled “4. Install your first module”Modules add commands, hooks (actions that run when something happens in game) and scheduled jobs to your server. Takaro comes with built-in modules, for example teleports or daily rewards.
- In the sidebar, open your server, then Modules → Registry.
- Find a module and select Install.
- Fill in the settings. Not sure what a setting does? Select Explain these settings to let Takaro AI explain it in plain language.
- Select Install.
The module now shows under Modules → Installed. To learn what each built-in module does, see Modules.
5. Invite your team
Section titled “5. Invite your team”Give your staff their own login with an invite link.
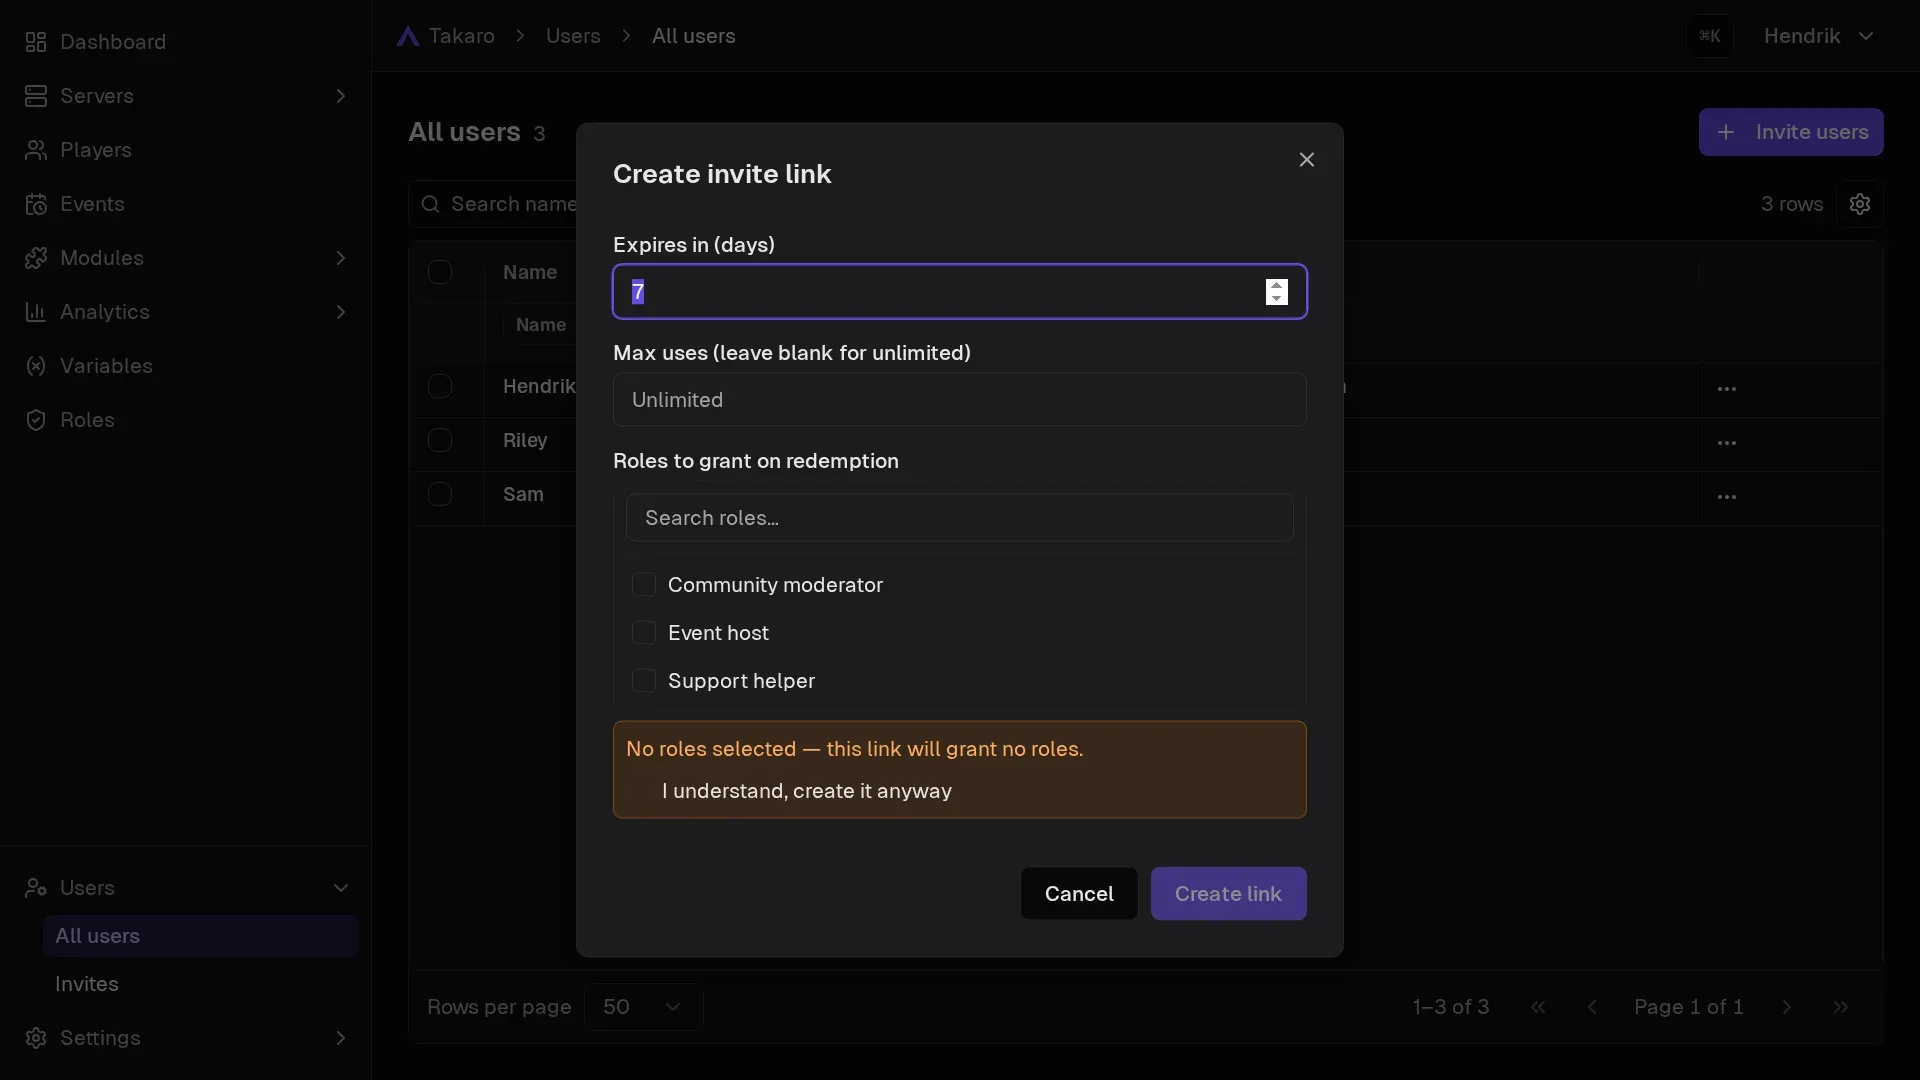
- In the sidebar, select Users → Invites.
- Select New invite link.
- Under Roles to grant on redemption, pick the roles your staff should get. See Roles and permissions.
- Set Expires in (days) and, if you like, Max uses (leave blank for unlimited).
- Select Create link and share the link with your team.
When someone opens the link, they see which domain they are joining and which roles they’ll get. For what the invited person sees and how to revoke a link, see Users and invites.
Keep track with the checklist
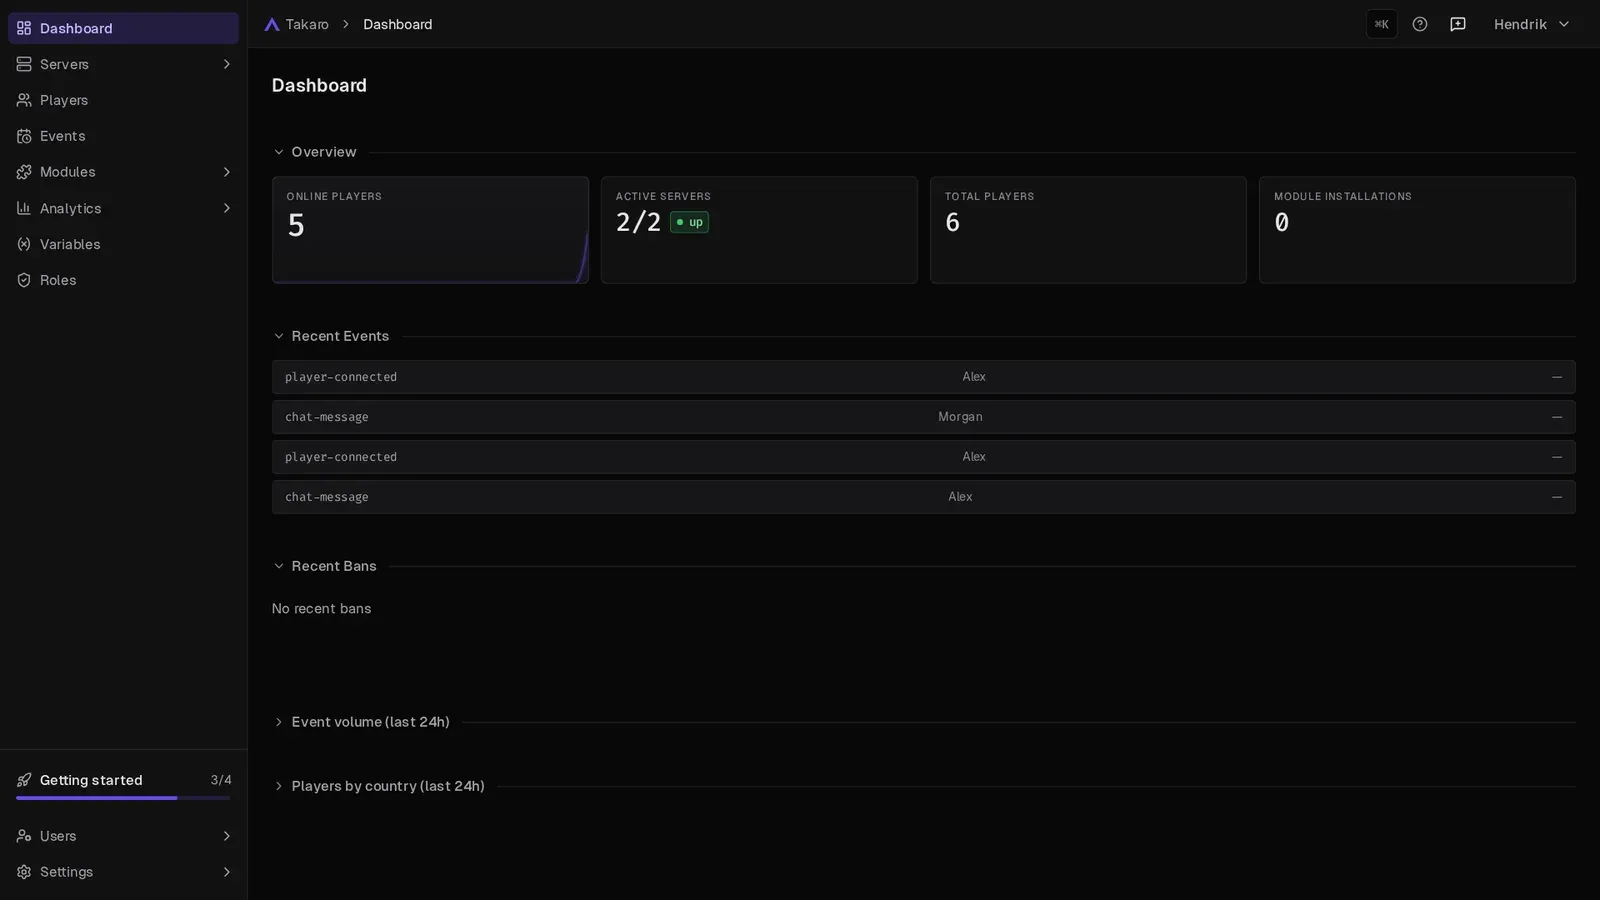
Section titled “Keep track with the checklist”The dashboard shows a Getting started checklist in the sidebar while you set up:
- Connect your game server with the Takaro mod
- Server online
- Install your first module
- First player joined
- A teammate joined (optional)
- Share your Player Portal link (optional). The Player Portal is the page where players link their in-game player and use the shop.
You only see the items your role lets you do. You can hide the checklist from the sidebar. It’s always in the Help menu, along with Replay welcome tour and Replay server tour.