Servers
Every game server you connect shows up under Servers in the sidebar. Open one and its pages unfold below it in the sidebar.
You only see the pages your role allows. For example, Console needs the Manage Game Servers permission.
The Servers list
Section titled “The Servers list”Select Servers in the sidebar to see all your servers with their status, online players, game and creation date.
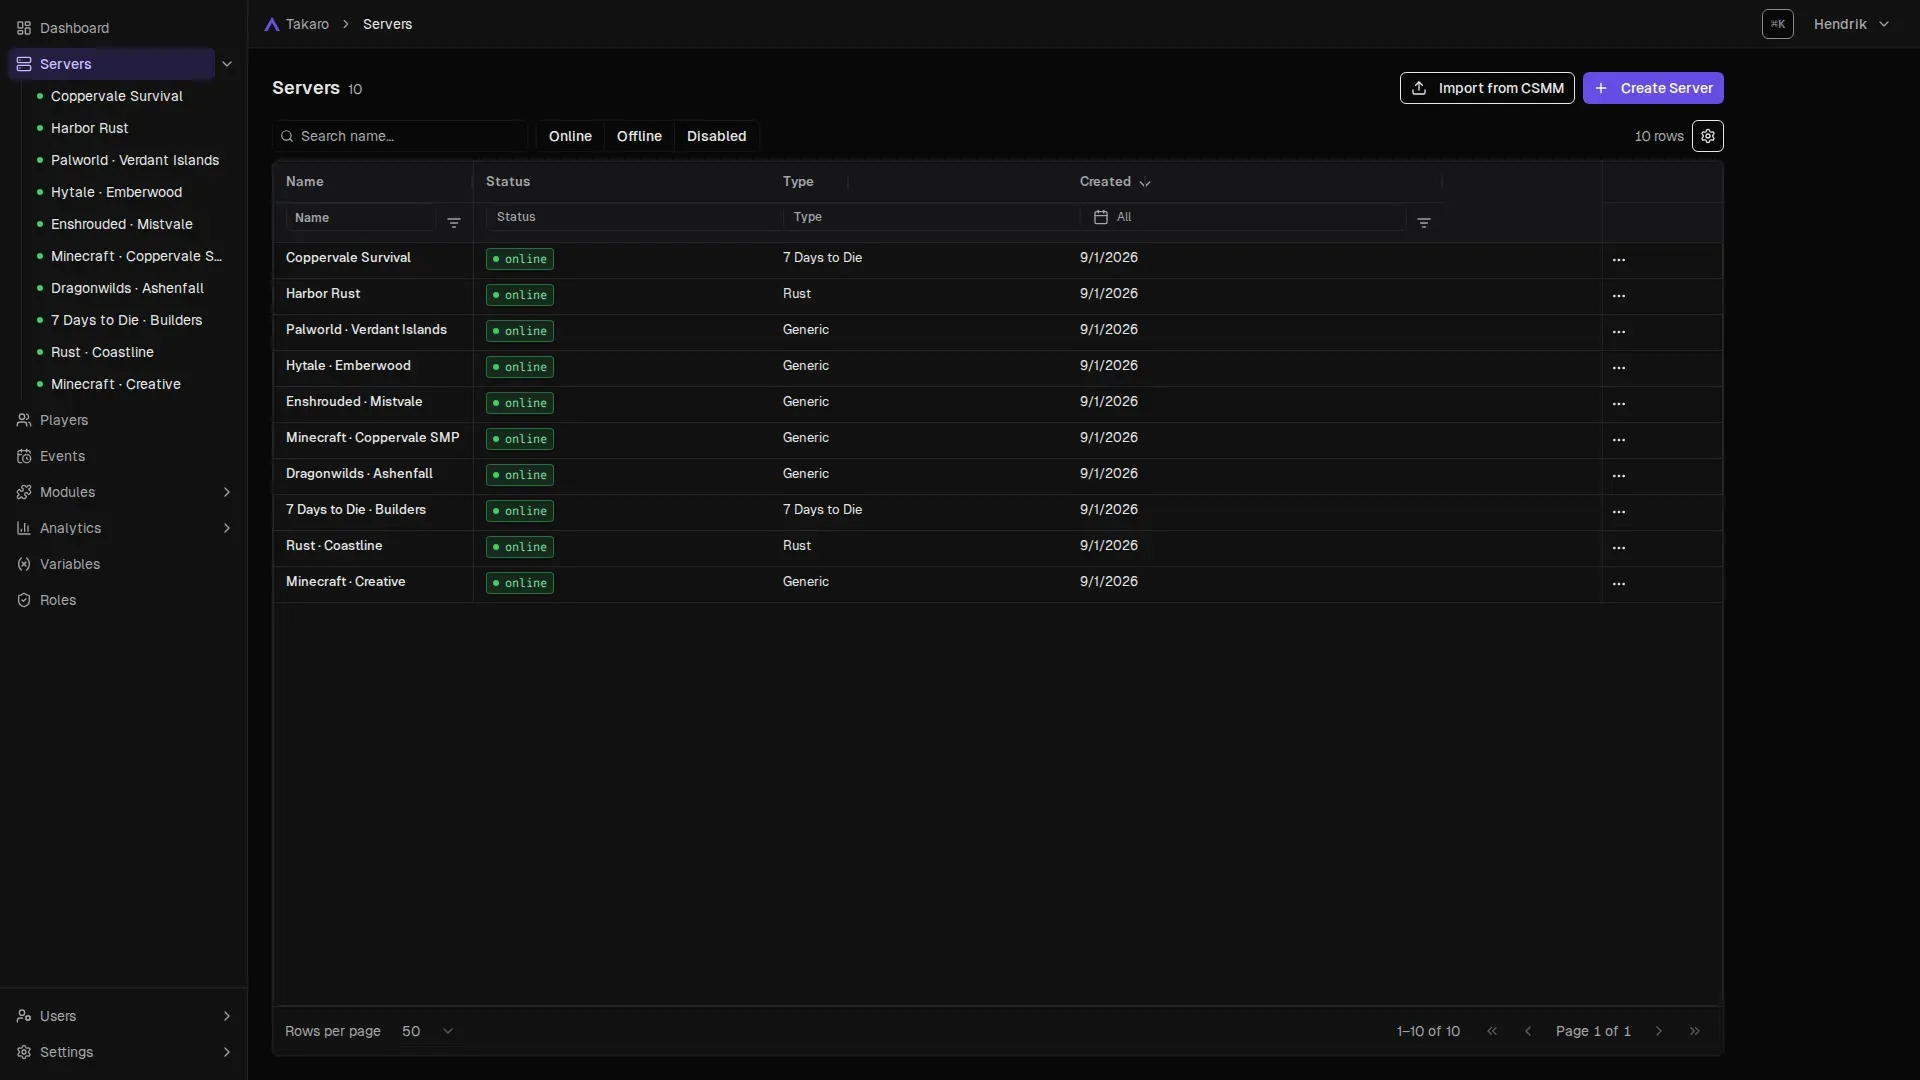
- To add a server, select Create Server. This opens the setup guide. See Getting started.
- To find a server, search by name or use the Online, Offline and Disabled filters.
- To open a server, select its row. You land on its Overview.
- To edit, disable or delete a server, open the row’s actions menu. Pick Edit, Disable (or Enable) or Delete.
Deleting a server also uninstalls its modules and removes all its data. This can’t be undone. If you only want to pause it, disable it instead.
Some older servers connected over RCON or the web API also show Migrate to connector in that menu. This moves the server to the newer mod-based connection.
Import from CSMM
Section titled “Import from CSMM”Coming from CSMM (the older 7 Days to Die server manager)? Select Import from CSMM to upload your CSMM export. You choose what to bring over: players, roles, shop listings and currency. Takaro AI can help with the parts the import doesn’t copy.
See Migrating from CSMM for the full steps.
Overview
Section titled “Overview”The first page of a server. Use it to check how the server is doing right now.
- Quick stats: online players and events in the last 24 hours.
- Online players: who is on the server, with ping, playtime, currency and roles.
- Chat: the live game chat. Type in the box and select Send to message everyone, or pick one player to whisper to.
- Ask Takaro AI about this server: one click for a summary of who is online, what happened in the last 24 hours and whether anything needs your attention. See Takaro AI.
- Connector details (mod-connected servers only): the connector, game version, protocol version and when it last identified itself.
Here is Ask Takaro AI about this server in action:
Players
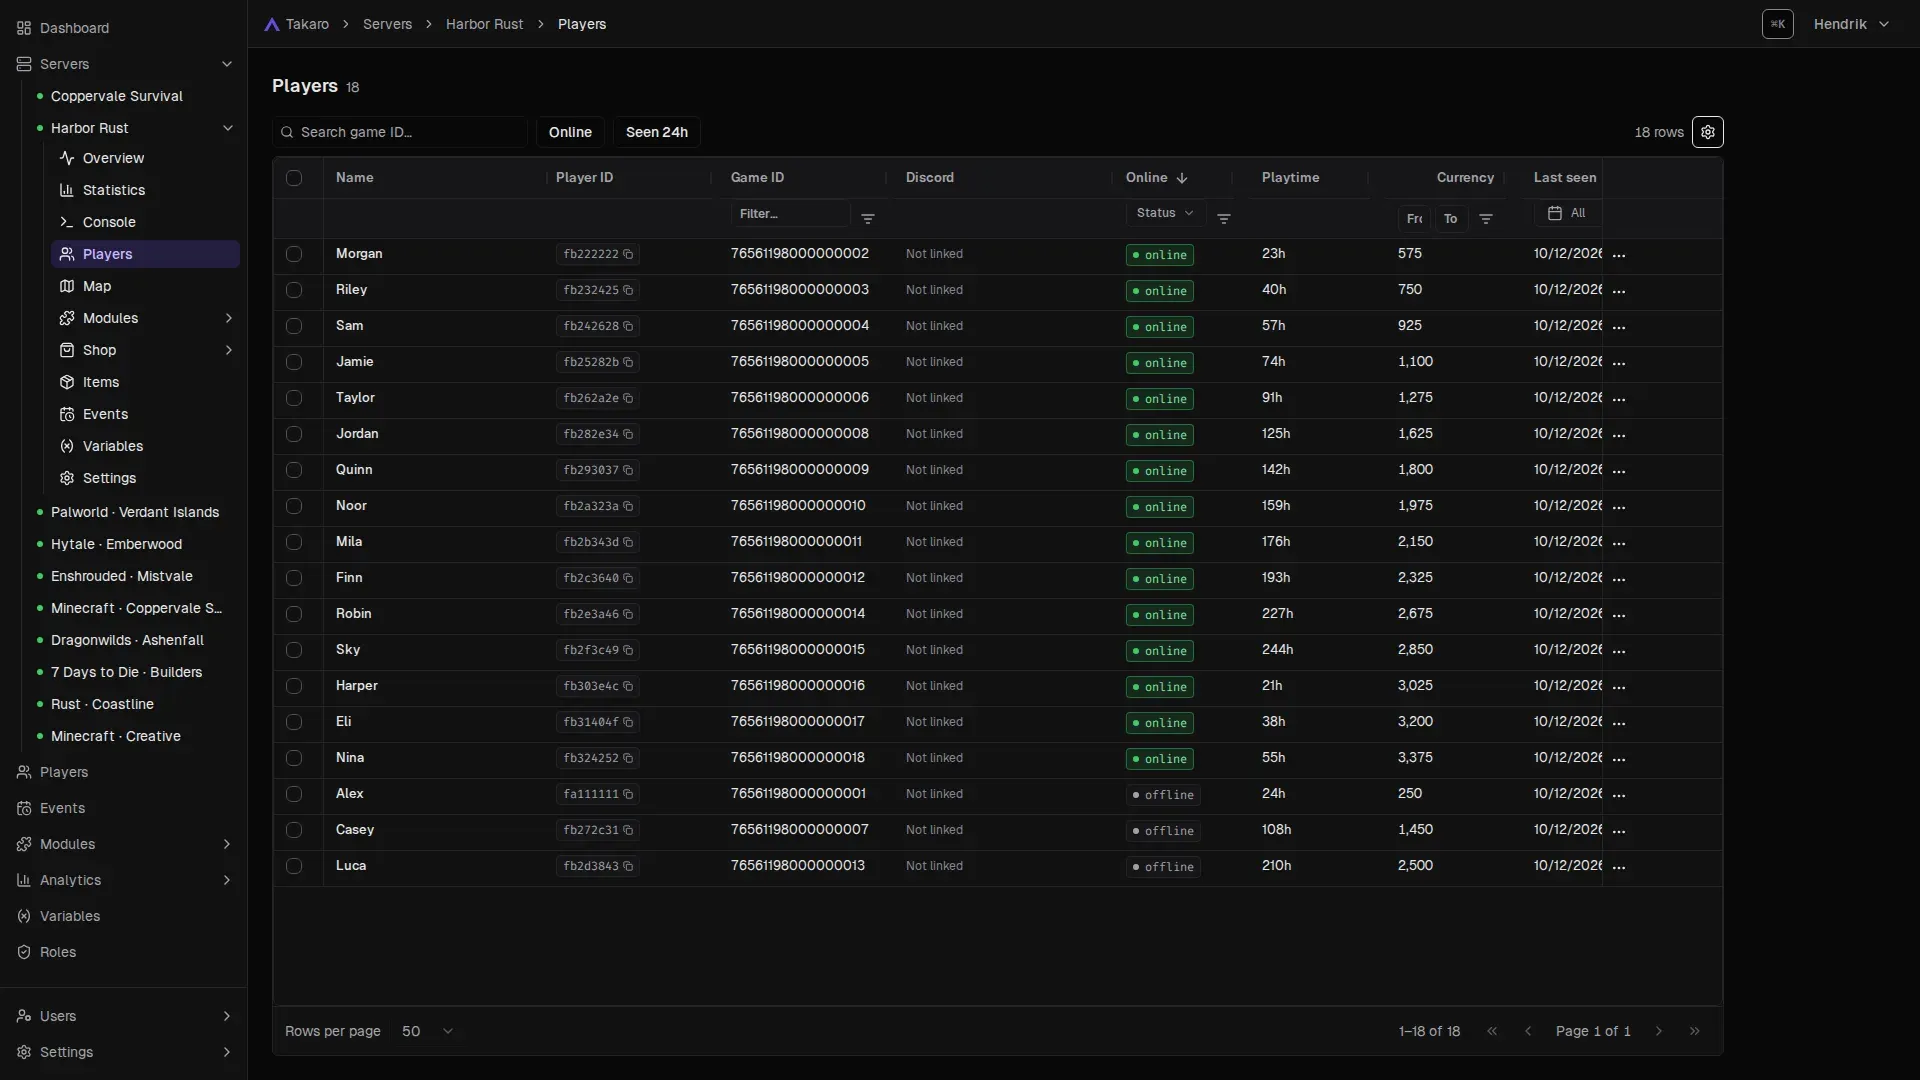
Section titled “Players”Everyone who has played on this server, online or not. You see their status, playtime, currency, last seen date and Discord link.
Search by player name, game ID or platform ID, such as a Steam ID. Select a player to open their profile, where you can see their history and manage roles and bans. See Players and Bans.
Events
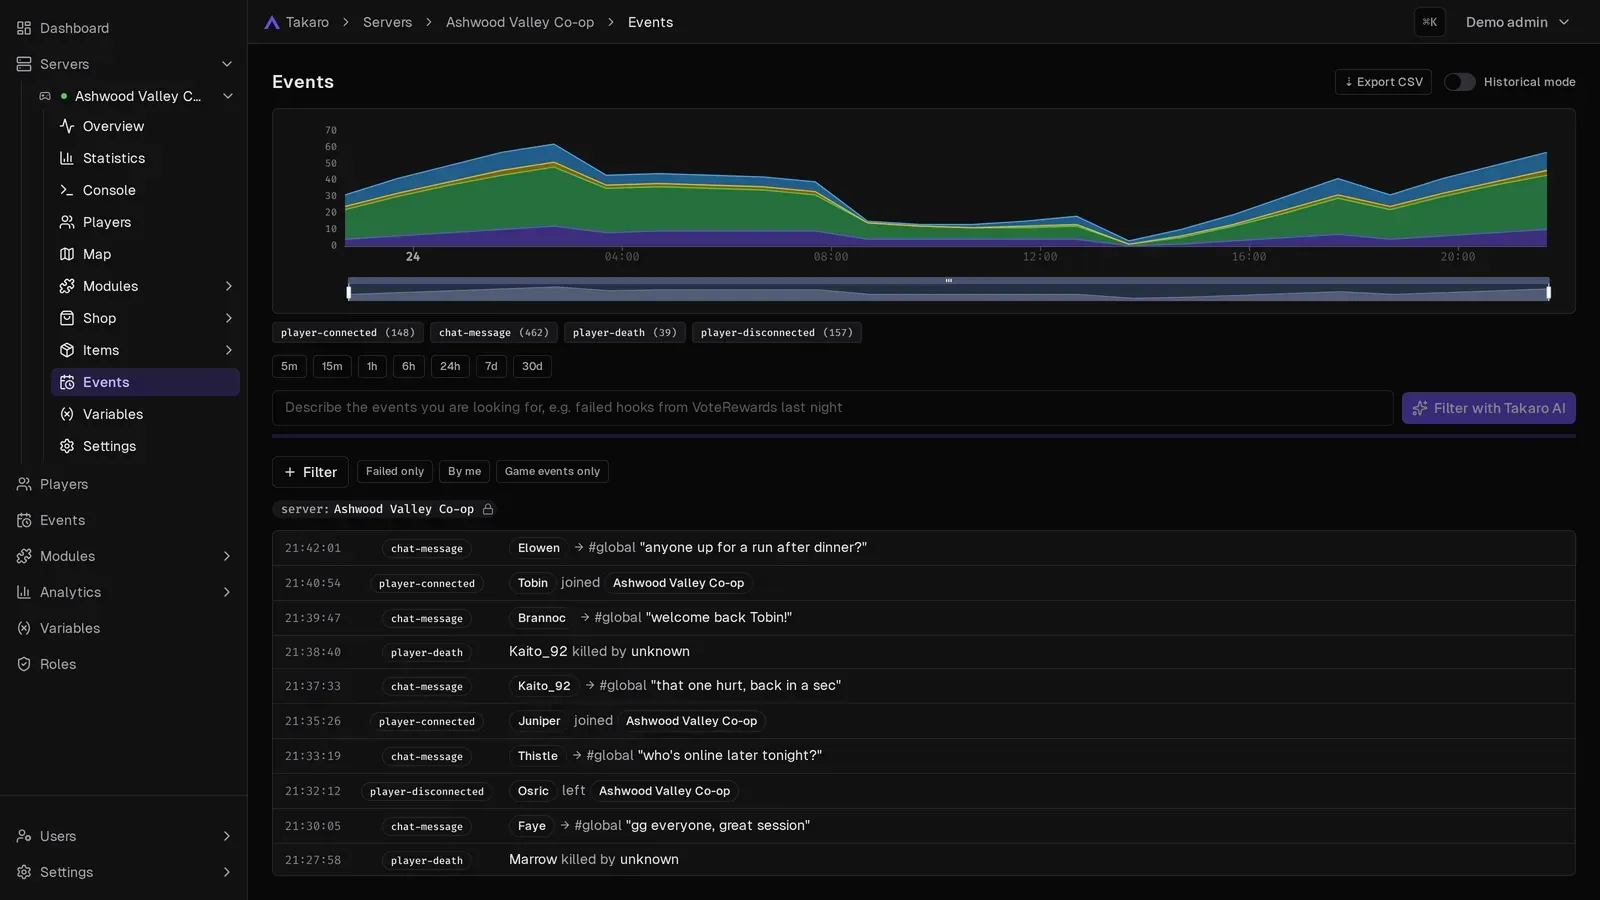
Section titled “Events”Everything that happened on the server: joins, chat, deaths, commands, hooks and more. Use it when you need to find out what happened, and when.
- Filter by player, server, module or event type, or show Failed only.
- Filter with Takaro AI: describe what you’re looking for, for example “failed hooks from VoteRewards last night”.
- Why did this fail?: on a failed command or hook, ask Takaro AI to explain it and offer a fix.
- Export CSV: download the events that match your filters (up to 90 days).
Console
Section titled “Console”The live server console. Type a game command to run it on the server, and watch the output as it comes in.
Not sure of the command? Use Ask Takaro AI for a command: describe what you want to do, and Takaro AI proposes the command. Nothing runs until you approve it.
If Takaro can’t reach the server, the console shows Console unavailable.
Statistics
Section titled “Statistics”Charts for this server over time:
- Players online
- Currency timeseries: how your server’s currency changes over time.
- Players by country (collapsed at first; click it to open).
Use it to spot your busy hours and see how your economy is doing. For charts across all servers, use Analytics in the sidebar.
See where your online players are right now, on a map of the game world.
If your game doesn’t send a map, select Upload a map image to add one, for example from a community map site.
See Map for how to use it.
Modules
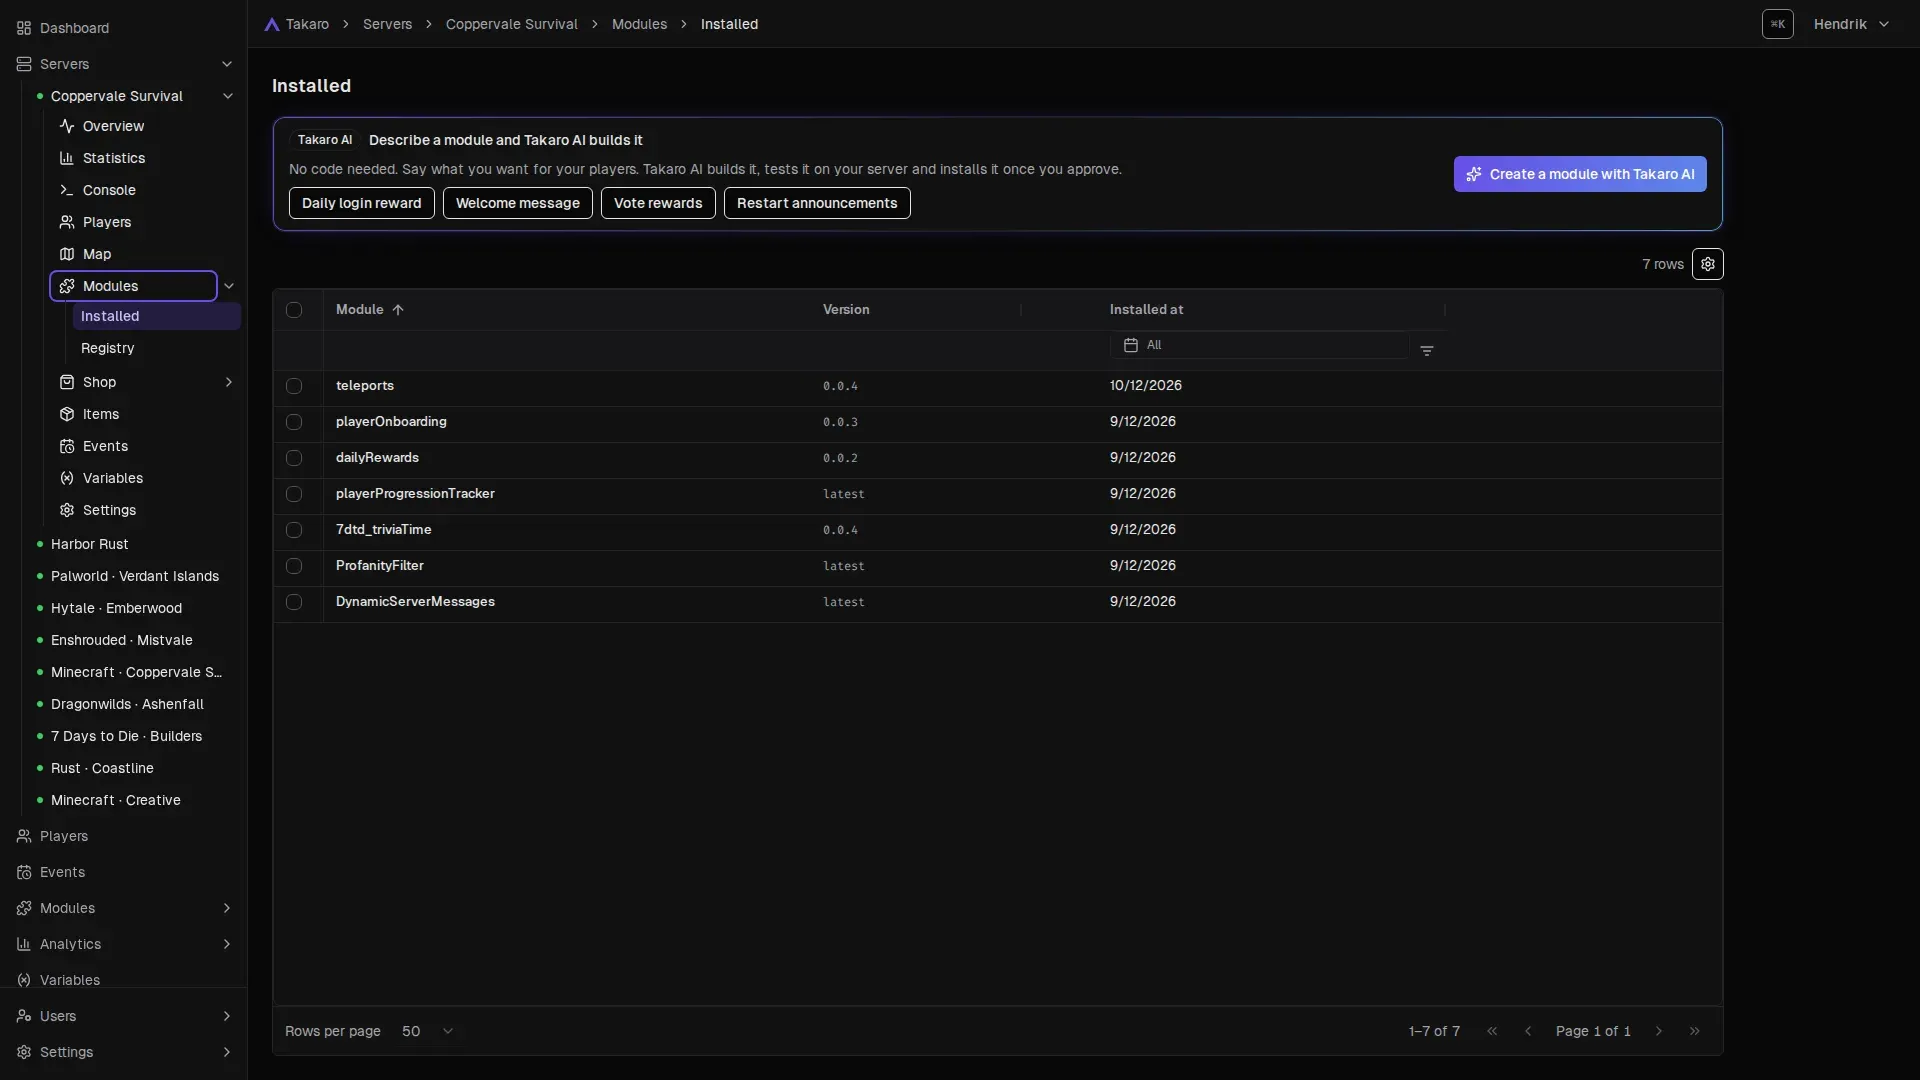
Section titled “Modules”The modules on this server.
- Installed: what’s running now. Open a module to see its runs and failures in the last 24 hours, change its settings, or Uninstall it.
- Registry: every module you can install, built-in and custom. Select Install on one to add it.
You can also describe a module and have Takaro AI build it. See Modules and Takaro AI.
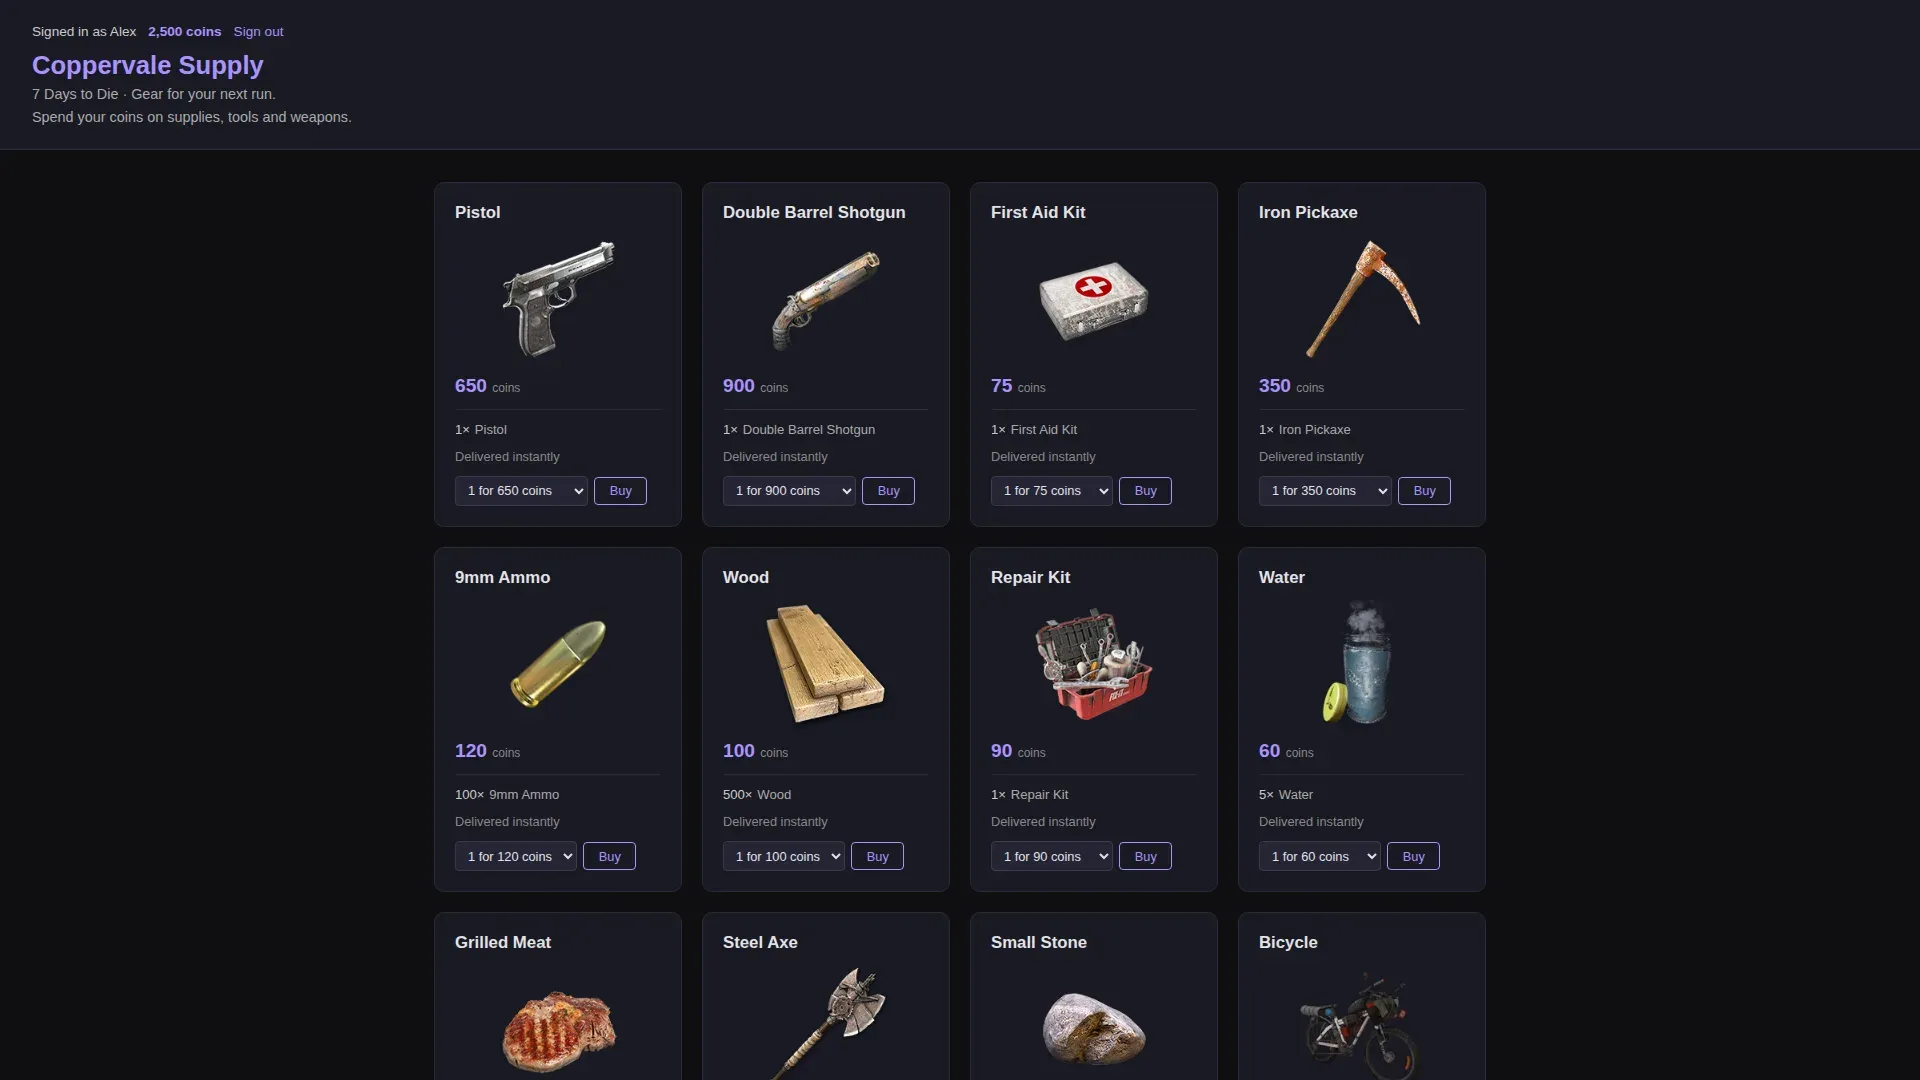
Your server’s shop, where players spend their in-game currency.
- Storefront: what players see.
- Orders: what players bought.
- Categories: group your listings.
- Automations: module actions your listings can run. They are shared across all servers in your domain.
- Storefront settings: how your storefront is set up.
See Shop for how to set it up.
The items Takaro knows for this game.
- Catalogue: every item, with its name and code. Search here when you need an item’s code for a shop listing or a command.
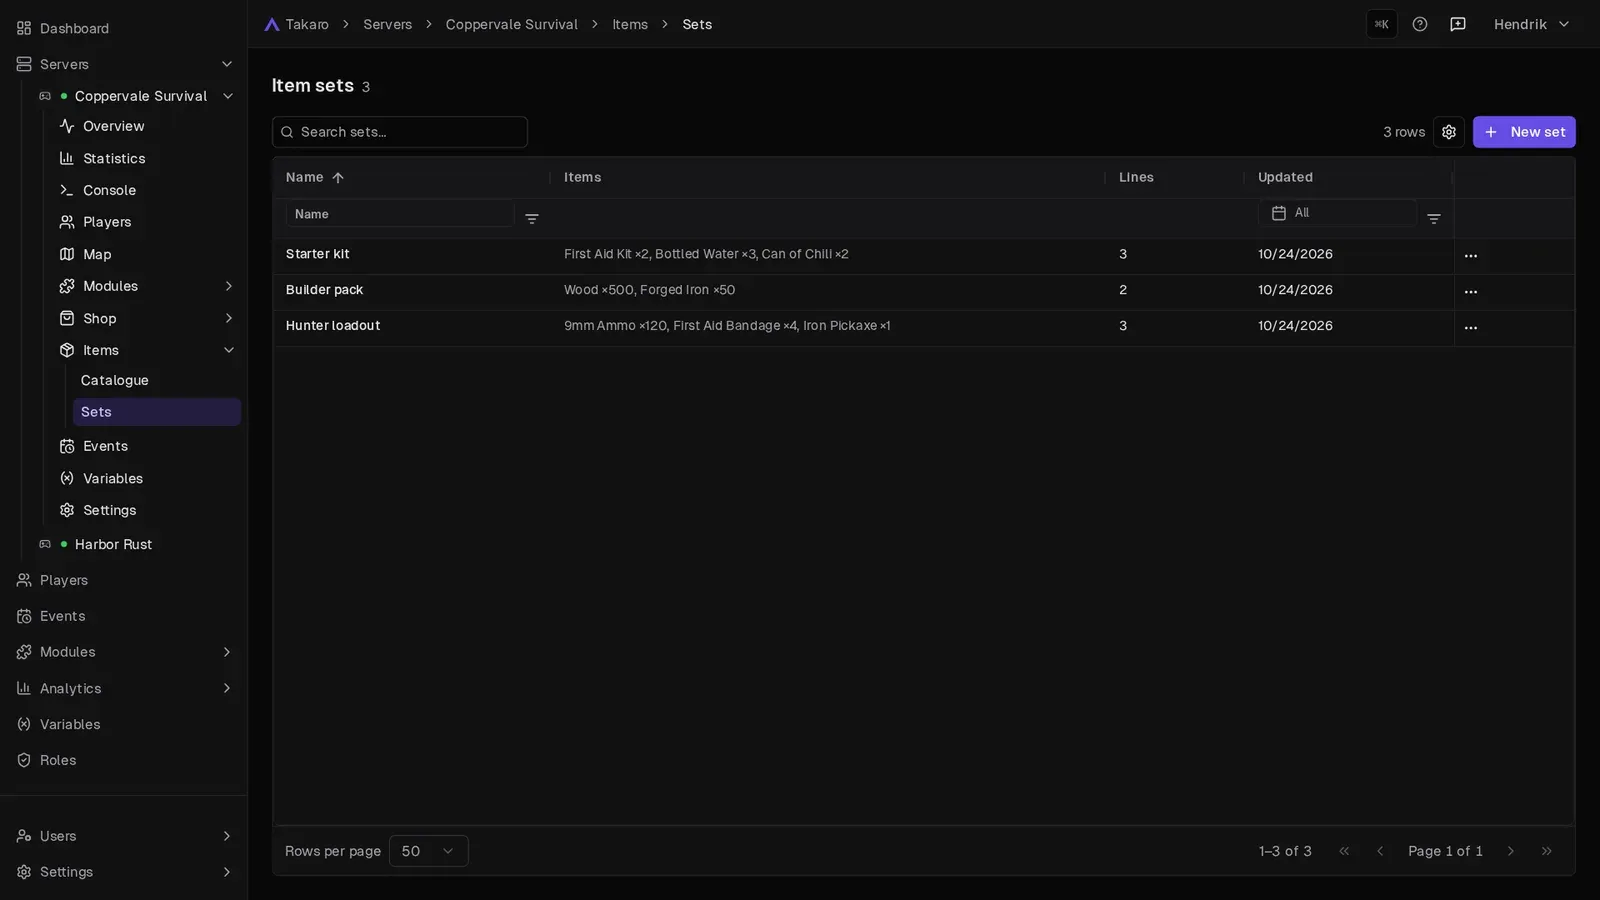
- Sets: save several items as one set, so you can give the same items again in one go. Select New set to make one. Use Copy to servers… to reuse a set on another server.
See Shop for how items are used in listings.
Variables
Section titled “Variables”Values that modules store for this server, such as cooldowns or teleport points. Use it to look up or fix a stored value by hand. See Variables.
Settings
Section titled “Settings”Opens Settings with this server already picked in the Scope menu. Here you change settings for this server only, for example its command prefix or currency name, without touching your other servers.
Some settings work for the whole domain and can’t be changed per server. They show Edit at domain level. See Settings and account.